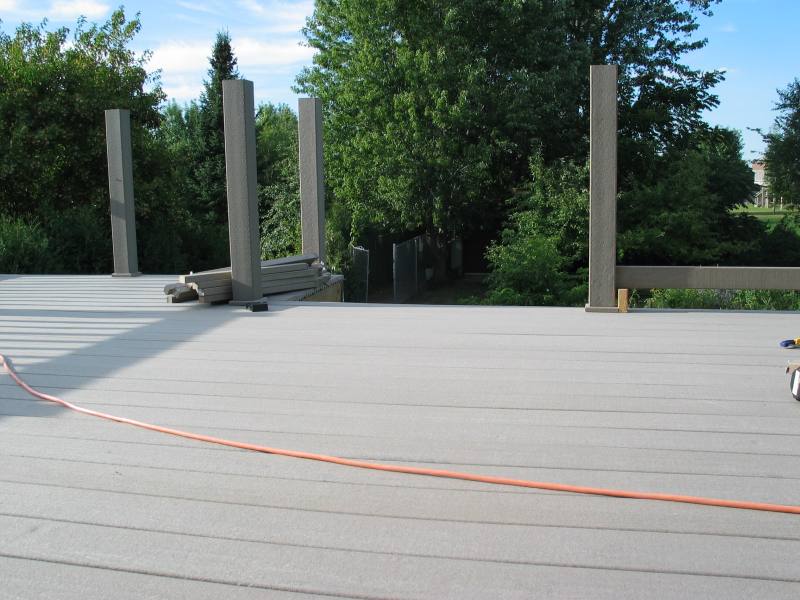
Again, the
decking looks great and I'd recommend the system --
just know it's not quite as easy as they
make it out to be. We don't have any
pictures of the work-in-progress for the same reason
as above, but you can see the finished work in all the other pictures coming up.
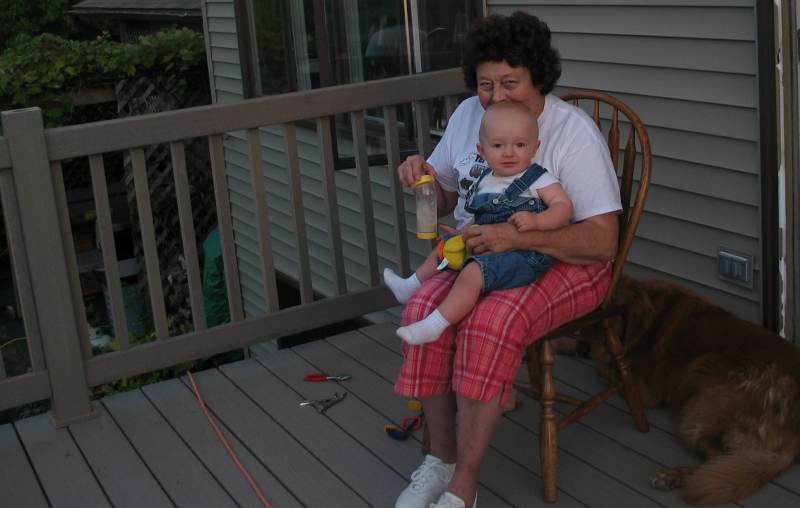
The next step
was the railings. We already had the rail-post
up from the previous steps. To complete the
railing, we needed to attach an L-shaped railing
bracket at the proper heights, and fill them in with
balusters. To finish it off, a top-cap gets
attached for a nice finished look. For
this stage Mom came up to watch William so Cathy
could help full-time and the railing process was
completed in a couple of evenings after work.
 Tonight we
began work on the stairs, although not really.
Before we can start
the actual stairs, we need to complete the
"mini-patio" which will serve as the lower
stairway landing. Tonight, after completing
the railings, we started the excavation
necessary to build up a proper paver base. The
patio will be made with some concrete paver blocks
of various colors laid out in a random
pattern. I think it will look a lot nicer than
a standard concrete landing. Pictures to
come soon...
Tonight we
began work on the stairs, although not really.
Before we can start
the actual stairs, we need to complete the
"mini-patio" which will serve as the lower
stairway landing. Tonight, after completing
the railings, we started the excavation
necessary to build up a proper paver base. The
patio will be made with some concrete paver blocks
of various colors laid out in a random
pattern. I think it will look a lot nicer than
a standard concrete landing. Pictures to
come soon...
9/8/05 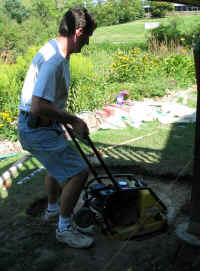
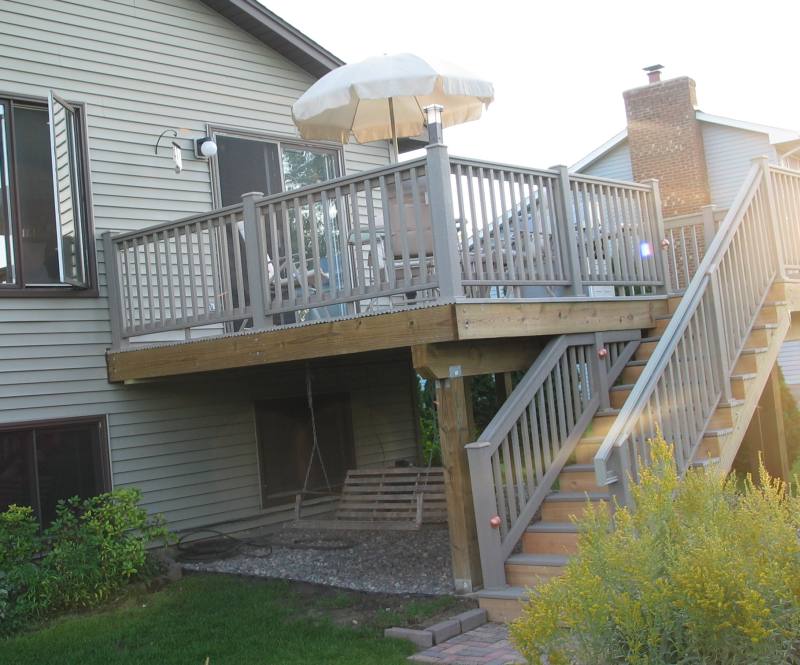
Well we've
been working on the deck and not this website.
We've made lots of progress since the last update.
We
installed the concrete-paver patio to serve as the landing for the
stairway. To do this, we excavated out the
existing ground, installed about 7" of paver
base, and a few inches of sand. We rented a
vibratory compactor to do the compaction and make it
a sturdy base for the stairs.
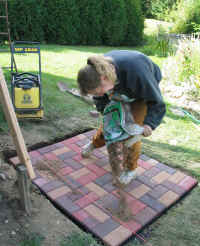 Once
the base was right, we laid out the pavers in a
random, 4-color pattern (called a "half
basketweave"). Plastic edging was applied
around the bricks, and staked down into the
ground. In this picture, Cathy is spreading
sand on the newly-laid bricks. The sand
was swept into the cracks, and then the vibratory
compactor run over the top to vibrate
everything. Lather. Rinse. Repeat.
Once
the base was right, we laid out the pavers in a
random, 4-color pattern (called a "half
basketweave"). Plastic edging was applied
around the bricks, and staked down into the
ground. In this picture, Cathy is spreading
sand on the newly-laid bricks. The sand
was swept into the cracks, and then the vibratory
compactor run over the top to vibrate
everything. Lather. Rinse. Repeat.
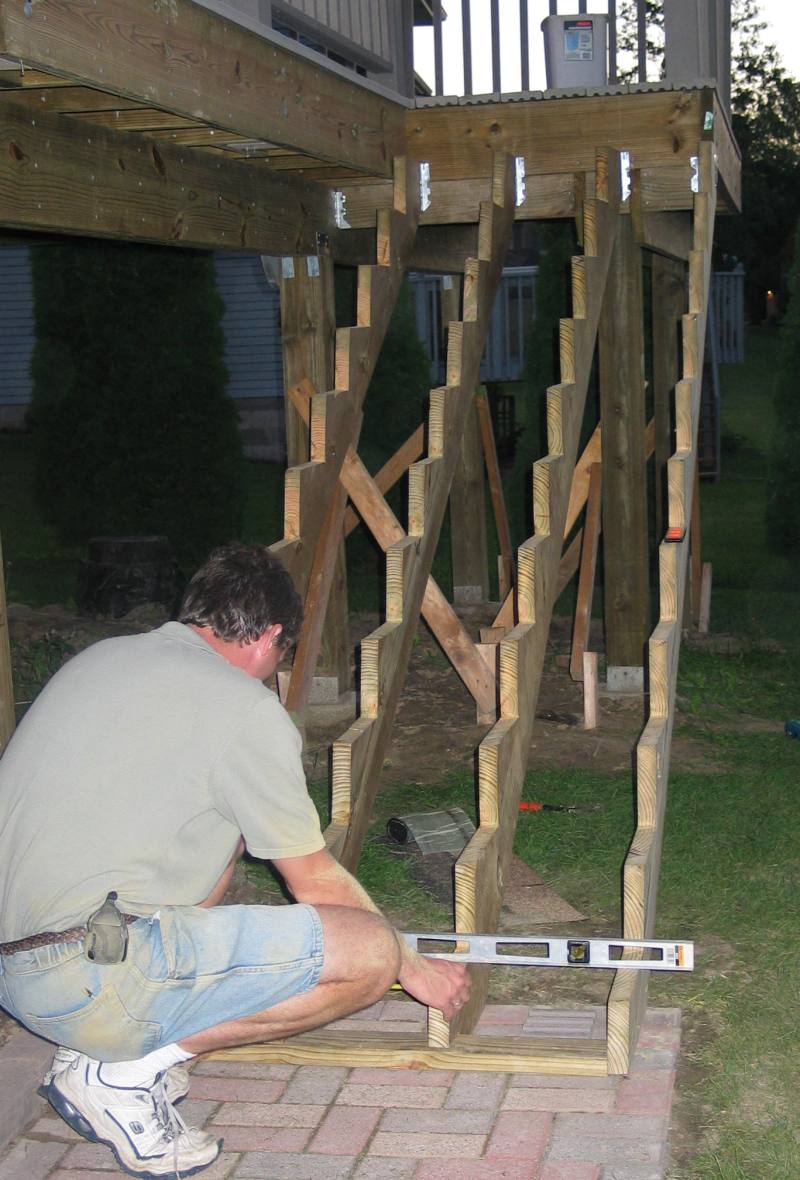
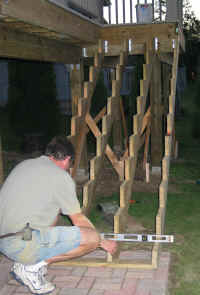
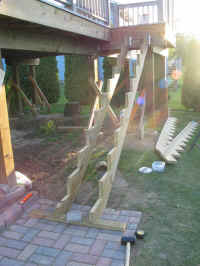 Then
it was onto the stairs themselves. The
stairway was a tricky project, but went reasonably
smoothly. Laying out the stringers is
critical, as many codes govern the stair height,
rise, run, etc. We were extra-careful to get
the first one correct, and then used it as a
template to create the others. Then the
stringers were hung, one at a time, to the deck
framing above.
Then
it was onto the stairs themselves. The
stairway was a tricky project, but went reasonably
smoothly. Laying out the stringers is
critical, as many codes govern the stair height,
rise, run, etc. We were extra-careful to get
the first one correct, and then used it as a
template to create the others. Then the
stringers were hung, one at a time, to the deck
framing above.
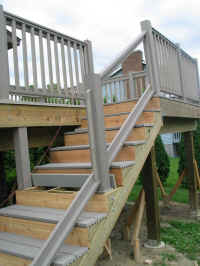
 Once
these were
hung, and we double-checked everything was level,
the bottom was anchored (using expanding concrete
anchors) into the brick patio below. Then, it was a matter of adding the railing posts
(which like the deck itself, had to go on before the
treads), riser boards, and stair treads.
Once
these were
hung, and we double-checked everything was level,
the bottom was anchored (using expanding concrete
anchors) into the brick patio below. Then, it was a matter of adding the railing posts
(which like the deck itself, had to go on before the
treads), riser boards, and stair treads.
 The
railings were basically done the same way as on the
deck itself, except everything has to be cut at the
correct angle (this is where compound miter saws
come in very handy!) On the side closest to
the deck, the railing was run only to the underside
of the deck framing, which meant some careful
calculations, but all worked out well.
The
railings were basically done the same way as on the
deck itself, except everything has to be cut at the
correct angle (this is where compound miter saws
come in very handy!) On the side closest to
the deck, the railing was run only to the underside
of the deck framing, which meant some careful
calculations, but all worked out well.
Meeting
handrail codes proved to be a bit trickier and more
frustrating than we had hoped. We had less
usable width for the stairway than we had originally
planned
(due to the way the railings needed to lay out to
meet the deck railing). Codes not only dictate
a minimum width, they require the 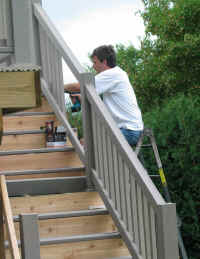 handrail to be "gripable",
a certain width, height, and continuous from the
bottom to the top of the stairway. The ChoiceDek railing
system didn't meet this code (which they
acknowledged when I called the factory), so we knew we'd have
to come up with something. I had planned to
install a standard handrail at the inside of the
stairway, but due to the reduced width, this would
make the stairway "out of spec" as far as
the stair width codes go. Ack! I spent a
frustrating night scratching my head trying to
figure out how to salvage our work thus far.
handrail to be "gripable",
a certain width, height, and continuous from the
bottom to the top of the stairway. The ChoiceDek railing
system didn't meet this code (which they
acknowledged when I called the factory), so we knew we'd have
to come up with something. I had planned to
install a standard handrail at the inside of the
stairway, but due to the reduced width, this would
make the stairway "out of spec" as far as
the stair width codes go. Ack! I spent a
frustrating night scratching my head trying to
figure out how to salvage our work thus far.
We
finally figured out that if we cut the rail posts on
the outside 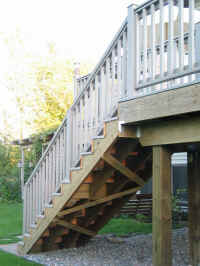 of the stairway at an angle (which had
to be done in-place with a Sawzall, since we had already finished
this part of the railing) we could place a second
handrail (one that actually meets the "gripability"
and width specs) over the top of it. This should meet
code, as it preserves the proper width, height, etc.
for the stairway. We'll see once the inspector gets here.
of the stairway at an angle (which had
to be done in-place with a Sawzall, since we had already finished
this part of the railing) we could place a second
handrail (one that actually meets the "gripability"
and width specs) over the top of it. This should meet
code, as it preserves the proper width, height, etc.
for the stairway. We'll see once the inspector gets here.
Another
mini-project we've completed is finishing off
underneath the deck. The previous deck had
nothing underneath, just mud and weeds (and large
portions of the rose bushes that you can see in the
early pictures). This, combined with all the
digging we did, made for a muddy mess. For the
new deck, we brought in 2 cubic yards of river rock,
and some plastic edging, and the end result looks
great, I think.
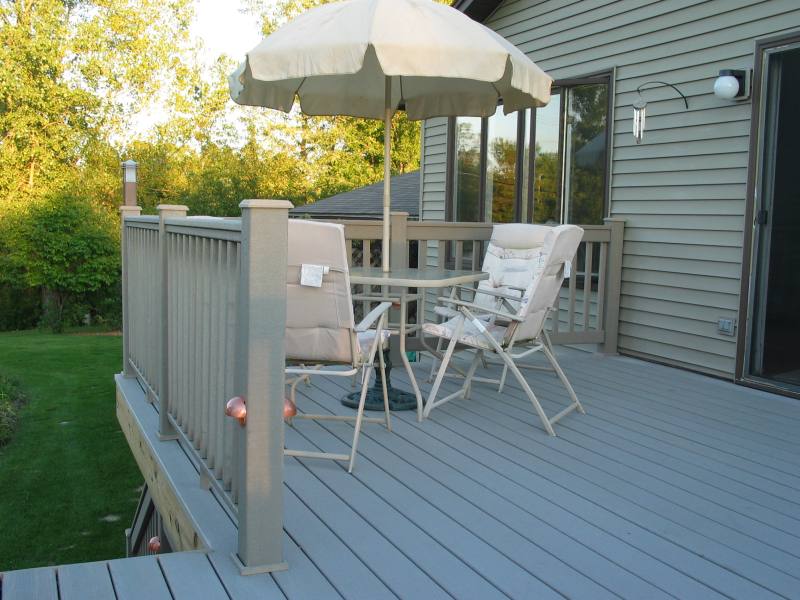
So
we're very close to done now. I'm finishing up
the handrail mentioned above, and starting to
install the low-voltage lighting which will be on
the corners of the deck as well as on the stairway
and a few other places. We hope to have the
inspection early next week (had hoped it would be
this week but ran into the handrail
issue).
9/13/05
Success!
We had our final inspection today, and passed!
The  inspector was very complimentary of our work (he
actually told us we should teach classes, as many
contractors he inspects don't do as good of
work! Not to brag but that made us feel
good!) He also told us that it's very rare
for a homeowner to pass on the first
inspection.
inspector was very complimentary of our work (he
actually told us we should teach classes, as many
contractors he inspects don't do as good of
work! Not to brag but that made us feel
good!) He also told us that it's very rare
for a homeowner to pass on the first
inspection.
In
the last few days, to prepare for this, we: a)
finished the handrail, mentioned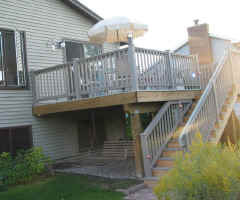 above b) did some
final painting on and underneath the patio door, and
the railing, c) moved our new gas grill up (it's a
beast, and very heavy!) d) removed the remaining
construction junk from under the deck, e) fixed up
and hung up the bench we brought over from the old
house (I still need to re-stain it). We were not able to use it with our
original deck due to the rose bushes... f)
cleaned out the garage, which has been dominated by
building materials and tools all summer, and
actually parked both vehicles in it!
above b) did some
final painting on and underneath the patio door, and
the railing, c) moved our new gas grill up (it's a
beast, and very heavy!) d) removed the remaining
construction junk from under the deck, e) fixed up
and hung up the bench we brought over from the old
house (I still need to re-stain it). We were not able to use it with our
original deck due to the rose bushes... f)
cleaned out the garage, which has been dominated by
building materials and tools all summer, and
actually parked both vehicles in it!
 Thanks
for coming along with us and walking through as we
built our deck! This is the biggest
project we've completed for this house, and it
feels very good to have it done!
Thanks
for coming along with us and walking through as we
built our deck! This is the biggest
project we've completed for this house, and it
feels very good to have it done!
This page was last
updated on Friday, March 28, 2008