Click on any picture on this
page for a larger version!
If you
missed Page 1 of the shed photos, please Click
Here.
During the
extended Independence Day weekend, we made a lot
more progress! We finished installing all of
the siding, framed out the gable, added fascia
boards, and installed sheathing on the roof.
We also installed some additional trim on the
corners and the window. The next three
pictures were taken on Sunday, after most of this
work was complete:
 This
pictures shows all of the siding installed,
including the gables, which was a bit tricky.
It also shows one of the corners trimmed out.
This
pictures shows all of the siding installed,
including the gables, which was a bit tricky.
It also shows one of the corners trimmed out.
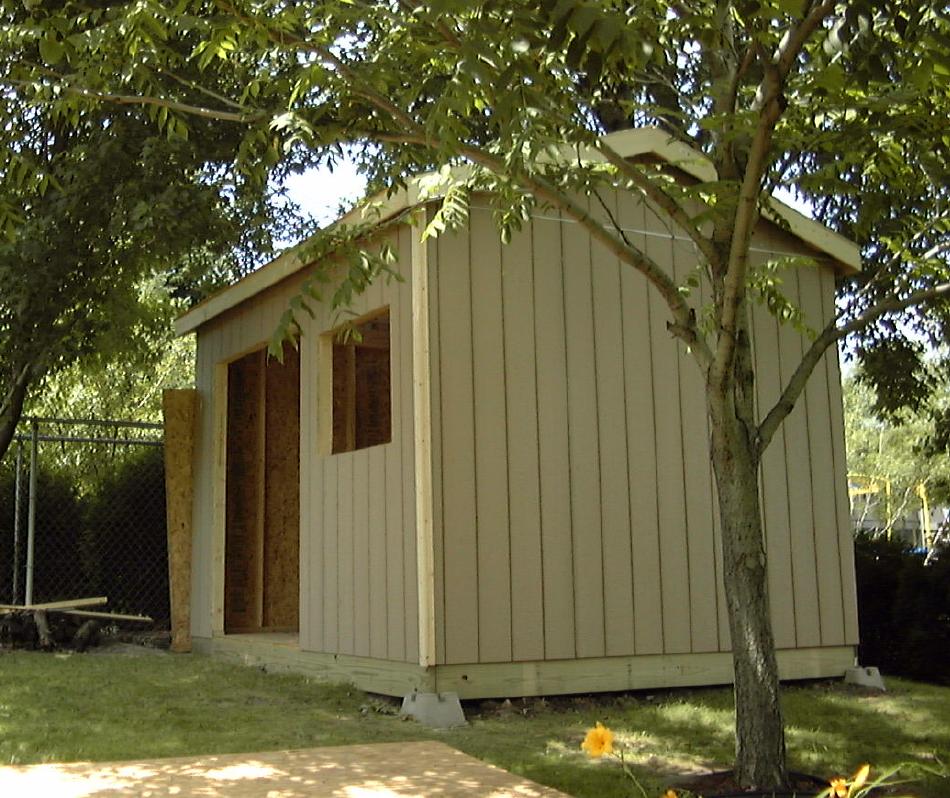
 Here's
another view from Bailey's run. Here you can
see how the gable was framed out further from the
truss so there is a slight overhang. The
fascia boards are also installed, but the soffit
boards are not.
Here's
another view from Bailey's run. Here you can
see how the gable was framed out further from the
truss so there is a slight overhang. The
fascia boards are also installed, but the soffit
boards are not.
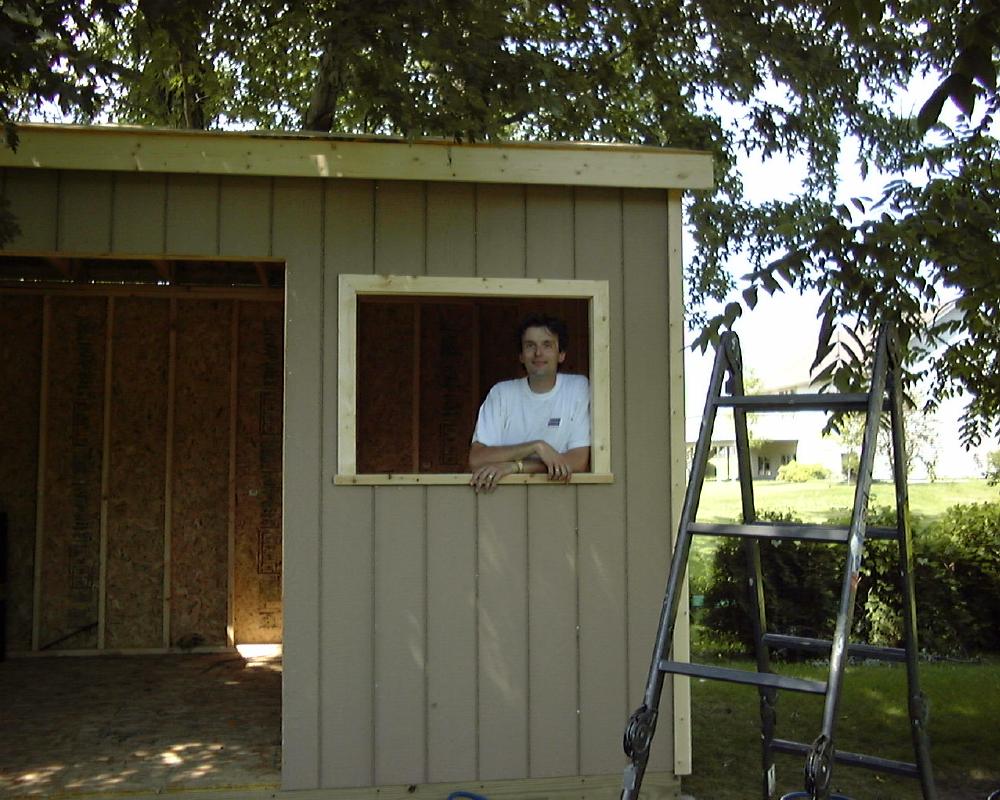
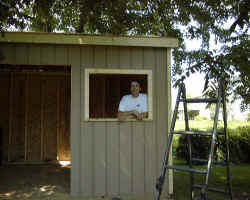 Tim
shows off the completed window trim. We had
to replace a window in our old home as part of the
sale conditions. We salvaged part of it, and
this will become our shed's window. The door
will receive similar treatment, but we're holding
off to finish it until we receive the door and can
verify proper dimensions.
Tim
shows off the completed window trim. We had
to replace a window in our old home as part of the
sale conditions. We salvaged part of it, and
this will become our shed's window. The door
will receive similar treatment, but we're holding
off to finish it until we receive the door and can
verify proper dimensions.
After the
previous picture was taken, we did a lot more work
without pictures. The roof was fully
finished and shingled, the window Tim is standing
in the above picture now received its glass window
unit, and all the soffit boards were installed,
and were ready for paint and then the soffit vents
to be installed.
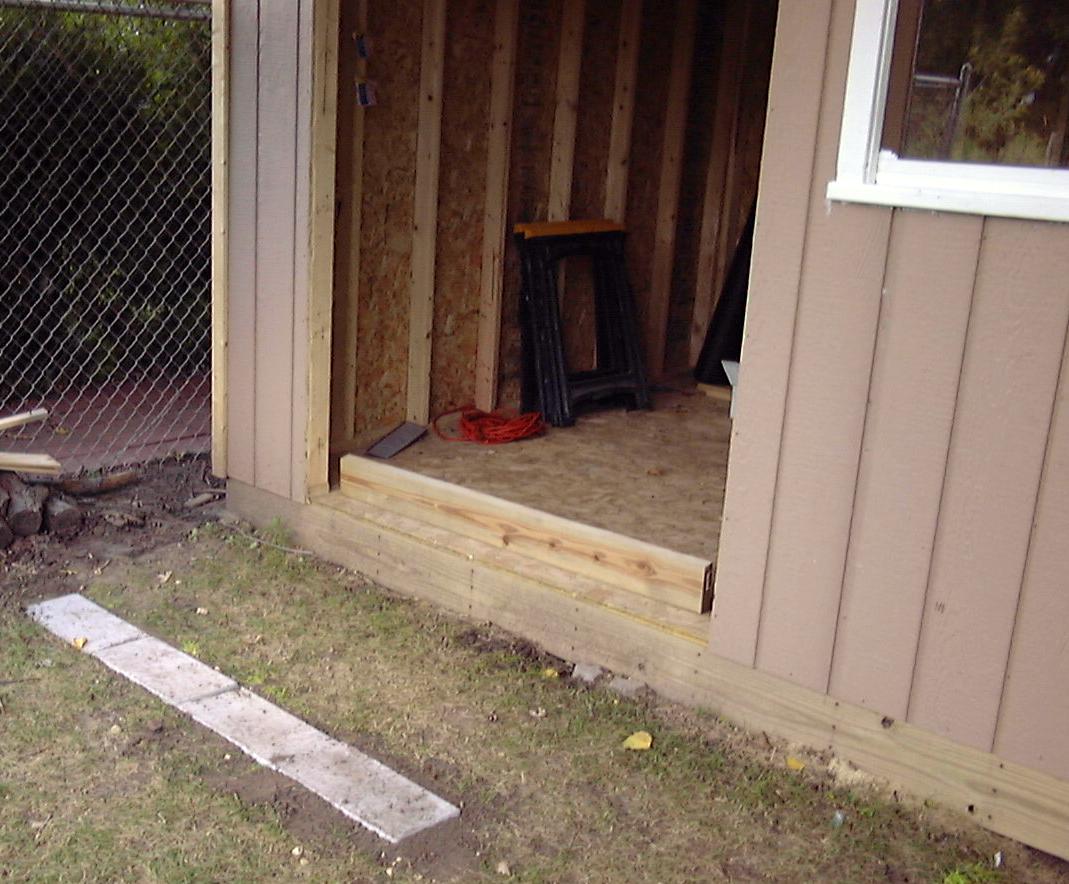
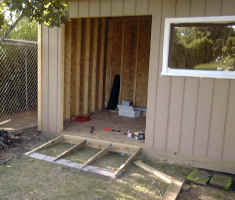
 The
next task was for Tim to set out and complete the
ramp for the shed. The first step was to
create a level foundation for the far end of the
ramp. For this, we used patio blocks, placed
over a limestone base and placed and leveled so
the end of the ramp would rest on them and have a
solid surface.
The
next task was for Tim to set out and complete the
ramp for the shed. The first step was to
create a level foundation for the far end of the
ramp. For this, we used patio blocks, placed
over a limestone base and placed and leveled so
the end of the ramp would rest on them and have a
solid surface.
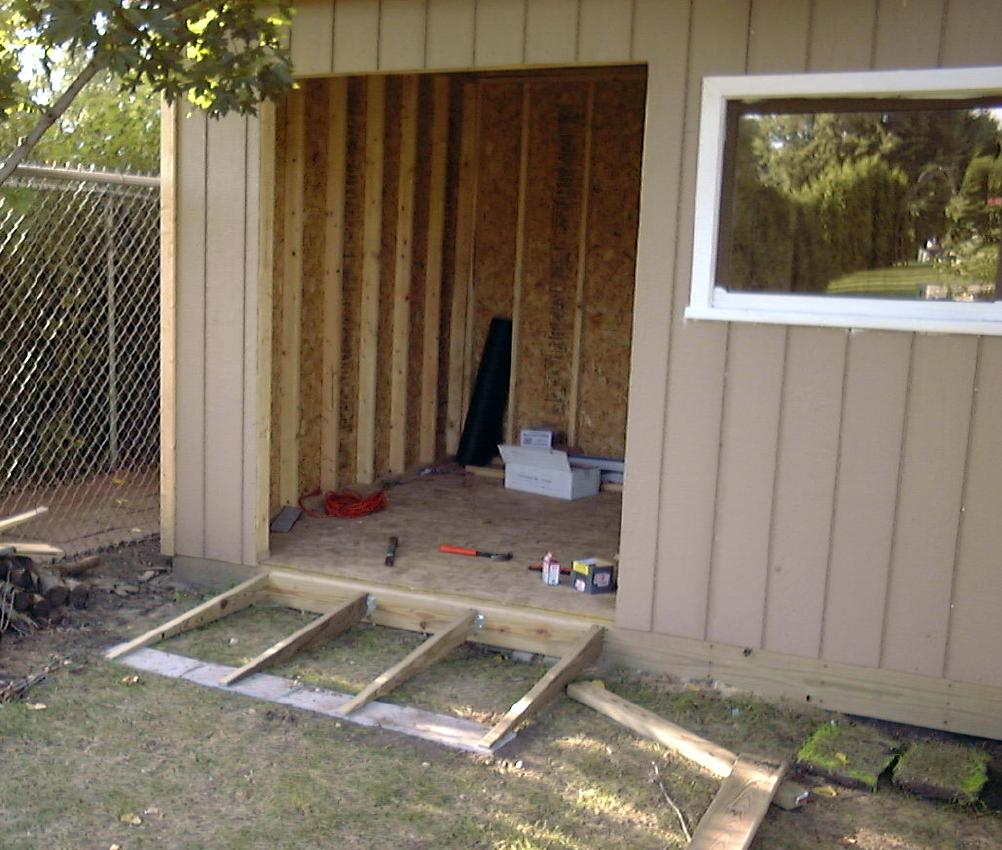
 The
next step was to install the stringers. We
used four, ripping them at the appropriate angle,
and hooking them onto a 2x6 ledger board
lag-screwed into the shed. The ends of the
stringers are secured into the patio blocks with
Tapcon screws. By the way, notice the window
trim is white -- we have partially completed
priming the trim, but have a ways to go.
Eventually this trim will be dark brown.
The
next step was to install the stringers. We
used four, ripping them at the appropriate angle,
and hooking them onto a 2x6 ledger board
lag-screwed into the shed. The ends of the
stringers are secured into the patio blocks with
Tapcon screws. By the way, notice the window
trim is white -- we have partially completed
priming the trim, but have a ways to go.
Eventually this trim will be dark brown.
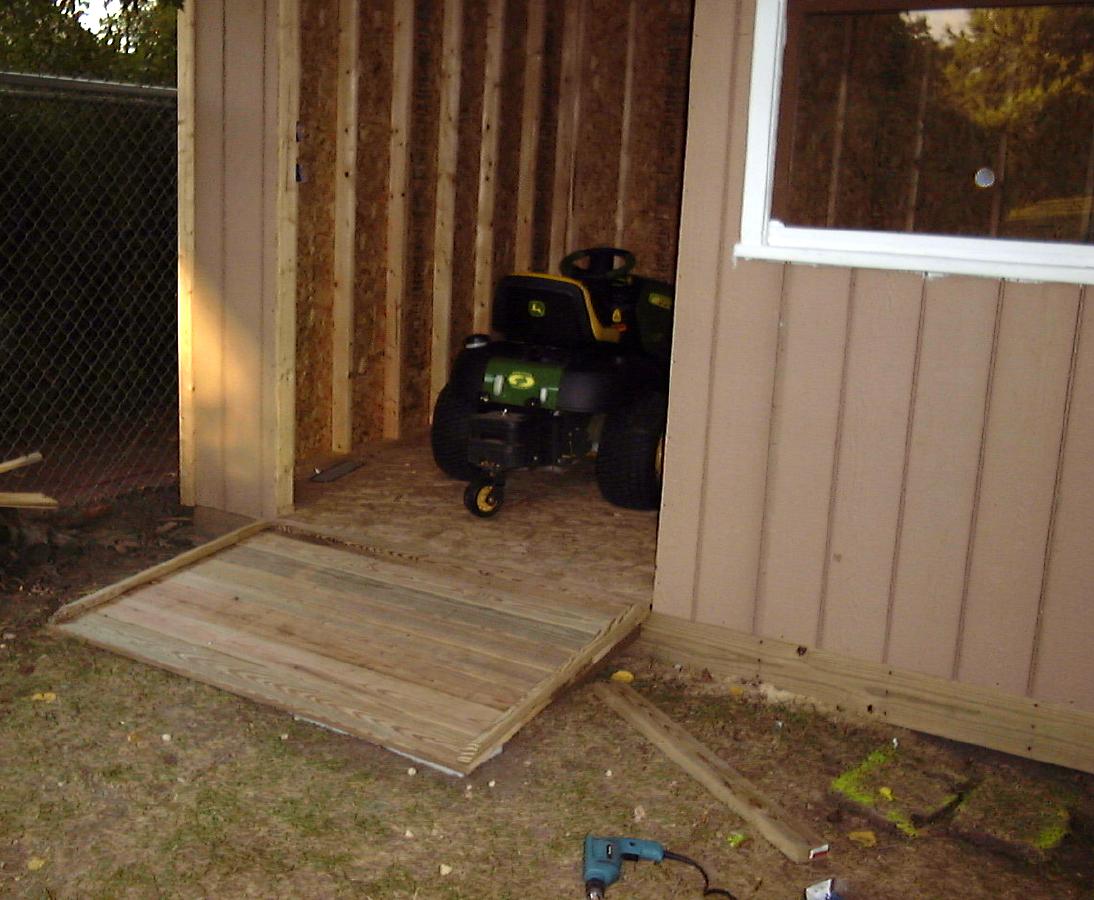
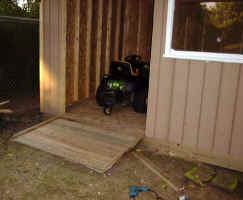 The
final step was to install decking over the
stringers. As a finishing touch, we used
2x2's on each side of the ramp to give it a more
finished look and provide for a safety curb.
As a test, we pulled the John Deere tractor in for
the first time! After this picture was
taken, the ground was leveled a bit in front of
the ramp (using some of the sod to the right--
from the patio block step) so the start of the
ramp is now smoother.
The
final step was to install decking over the
stringers. As a finishing touch, we used
2x2's on each side of the ramp to give it a more
finished look and provide for a safety curb.
As a test, we pulled the John Deere tractor in for
the first time! After this picture was
taken, the ground was leveled a bit in front of
the ramp (using some of the sod to the right--
from the patio block step) so the start of the
ramp is now smoother.
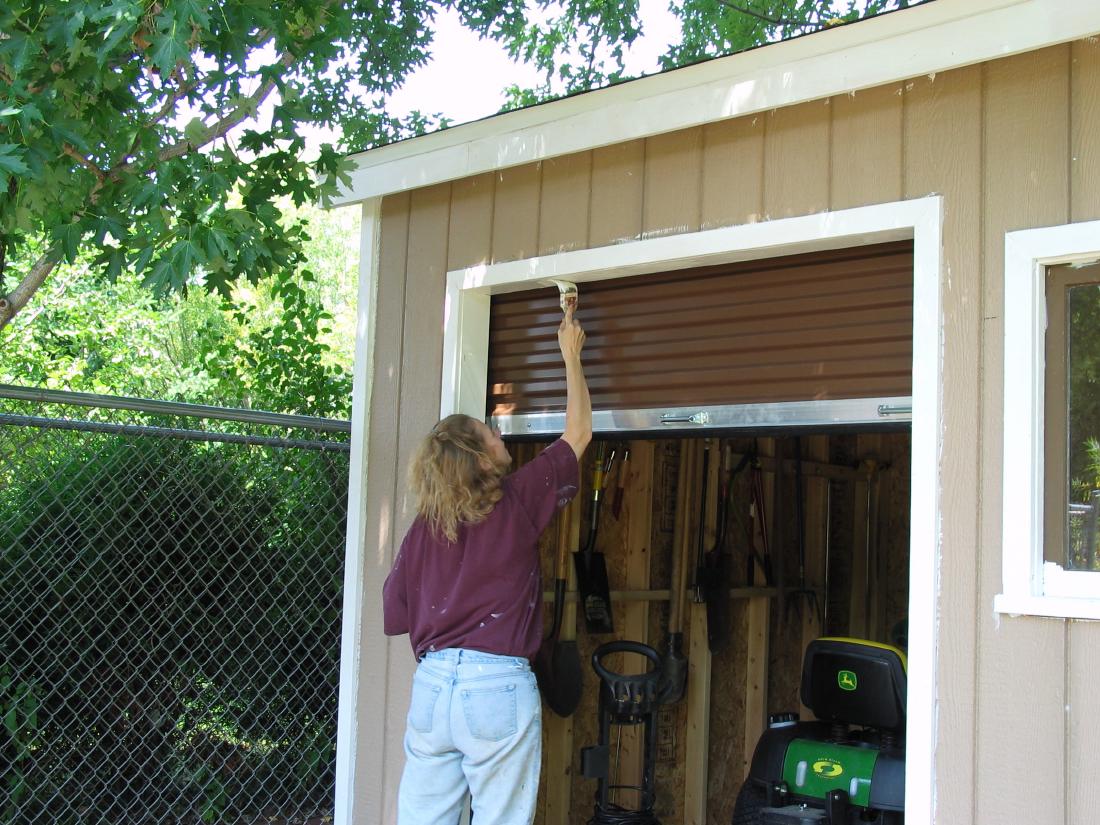
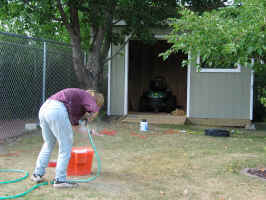
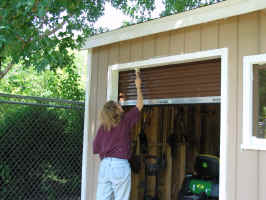 The
next step was to install the roll-up door, which
was fairly straightforward, and install the trim
around the opening. Then we needed to finish
priming all of the bare wood. The siding was
pre-primed, but all of the trim, soffits, and
fascia boards needed priming. Here Cathy
primes the trim near the roll-up door.
The
next step was to install the roll-up door, which
was fairly straightforward, and install the trim
around the opening. Then we needed to finish
priming all of the bare wood. The siding was
pre-primed, but all of the trim, soffits, and
fascia boards needed priming. Here Cathy
primes the trim near the roll-up door.
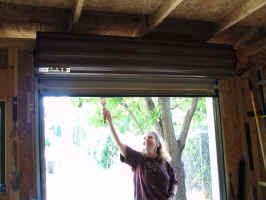 Here's
a view from inside the shed of Cathy working on
the priming. Here you can also get a good
view of the roll-up door in its rolled position.
Here's
a view from inside the shed of Cathy working on
the priming. Here you can also get a good
view of the roll-up door in its rolled position.
 The
priming is now finished, and we've painted the
siding! If you compare this picture with
those above, you'll see the siding has changed
from a darker brown (which was the original primed
color) to a lighter brown, which matches the color
of our home. Notice we had already started
using the shed at this point.
The
priming is now finished, and we've painted the
siding! If you compare this picture with
those above, you'll see the siding has changed
from a darker brown (which was the original primed
color) to a lighter brown, which matches the color
of our home. Notice we had already started
using the shed at this point.
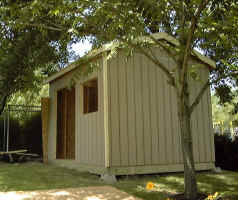
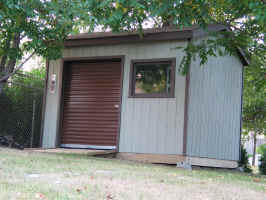 The
final step was to paint all of the trim dark
brown, again to match the trim on our home.
Here, you see a view of the finished shed!
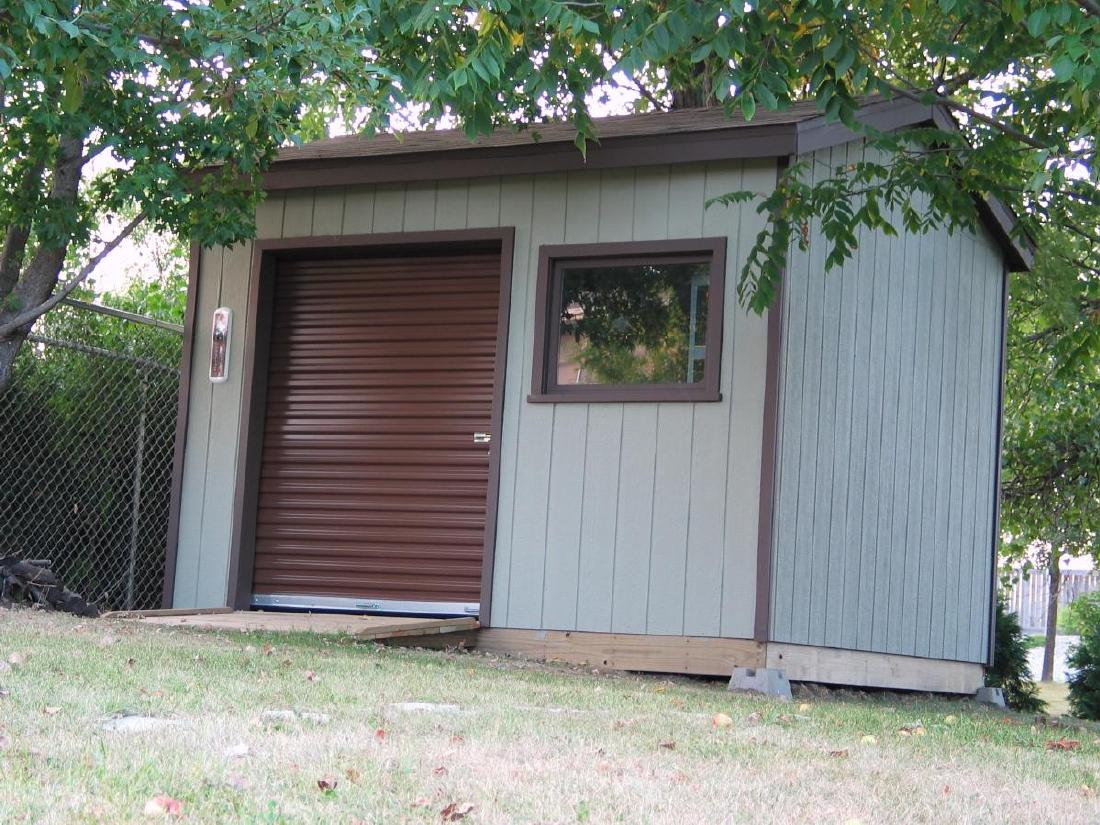
The
final step was to paint all of the trim dark
brown, again to match the trim on our home.
Here, you see a view of the finished shed!
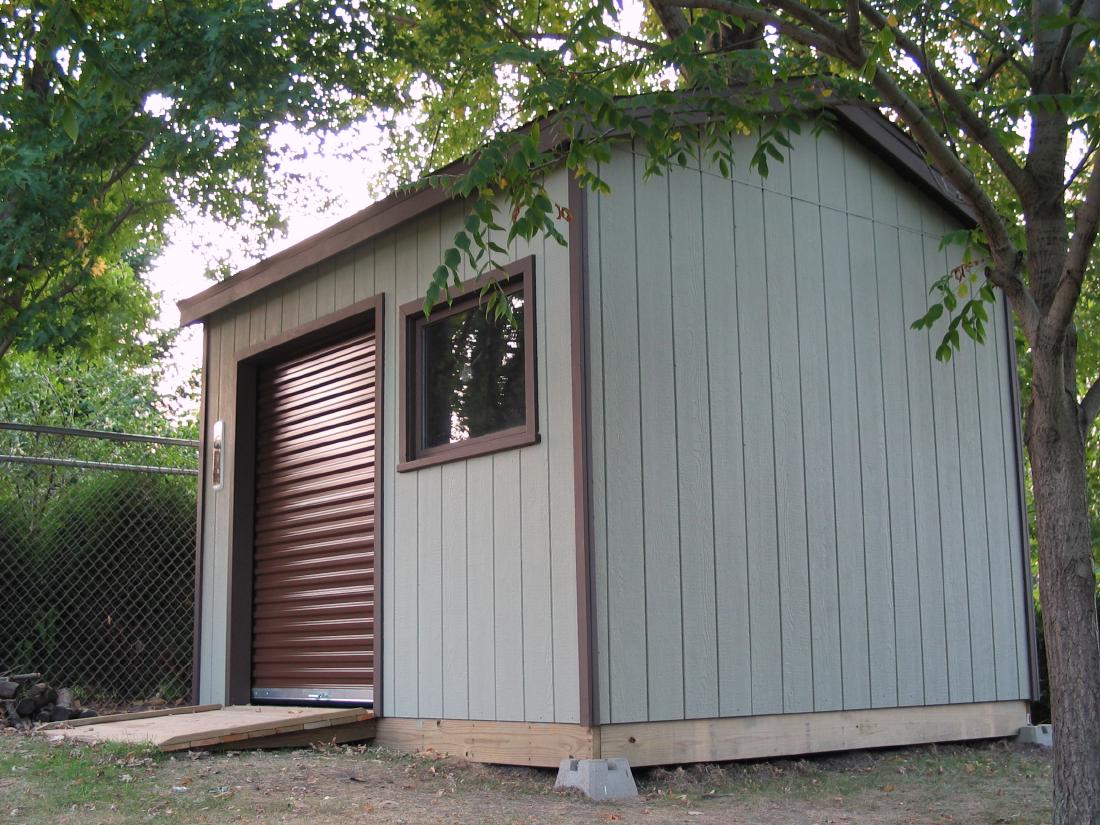
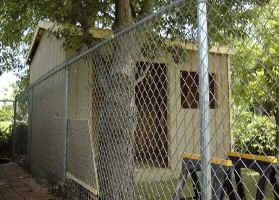
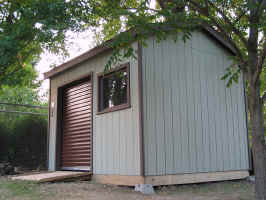 Another
view of the finished shed from a side angle.
Eventually we will add some landscaping to soften
the edges and foundation of the shed.
Another
view of the finished shed from a side angle.
Eventually we will add some landscaping to soften
the edges and foundation of the shed.
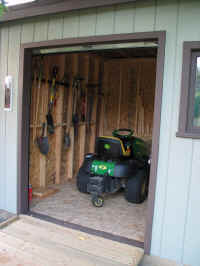 Here's
a view with the door open. We added some
hanging storage for long-handled tools to the left
of the tractor. Eventually we will add
shelving in front of the tractor as well.
Here's
a view with the door open. We added some
hanging storage for long-handled tools to the left
of the tractor. Eventually we will add
shelving in front of the tractor as well.
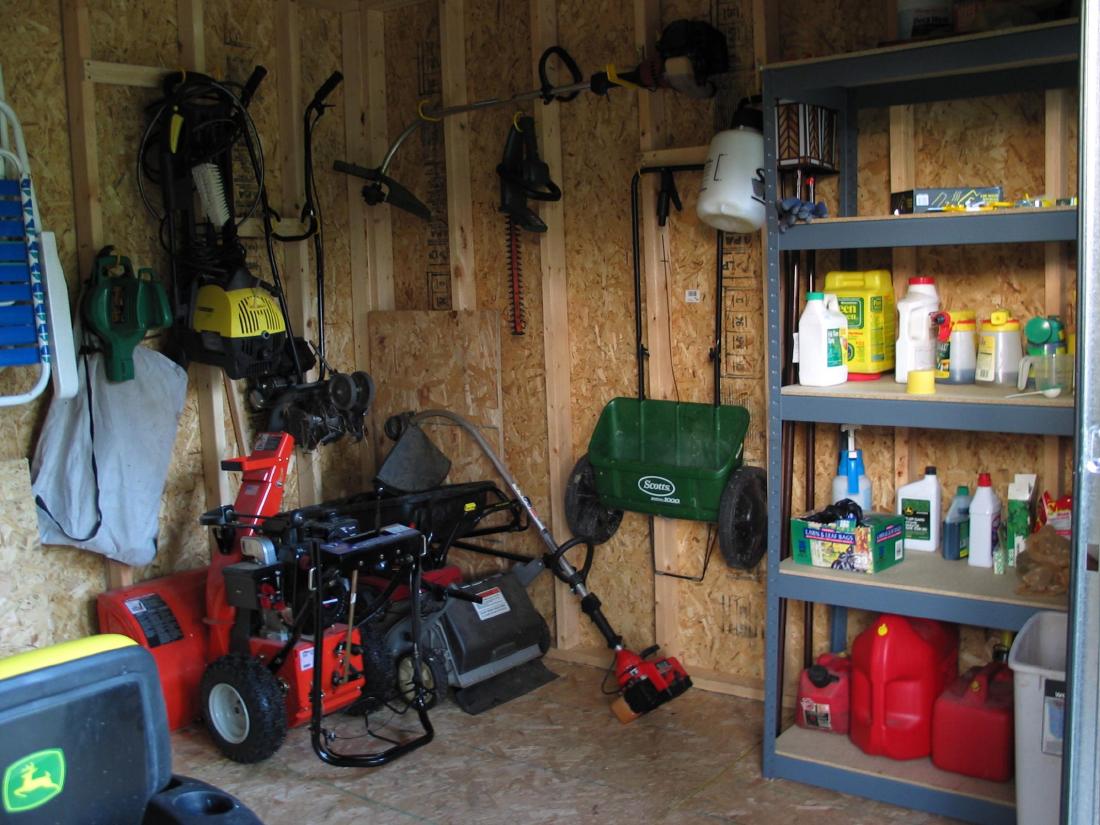
 One
last view of the shed, this time looking to the
right of the tractor. This shed freed up
some much-needed storage space in the garage, and
we are able to easily get to all the tools and
equipment now.
One
last view of the shed, this time looking to the
right of the tractor. This shed freed up
some much-needed storage space in the garage, and
we are able to easily get to all the tools and
equipment now.
We hope you
enjoyed this photo timeline of the building of our
shed!
This page was last
updated on Sunday, March 30, 2008